Two Ways to Map Your Running Route
What do you consider a “tool?” Certainly, a hammer or a screwdriver counts—but so does a pencil or even a how-to blog post.
If you’re a runner or even a biker, you may rely on a lot of tools: running shoes, a water bottle, a stopwatch, etc. You may also use a tool such as an app to track your routes. Thousands of these exist, from Komoot, Strava, and O.S. Maps.
While these apps often include a map, there may be times that you want to visualize your route in other formats—and perhaps you wish to share it with others. So let’s go over the two ways to map your running route, starting with track points.
#1 Map Your Track Points
The first way to map your running route involves exporting or downloading a GPX file of your entire tracked route (called track points in GPX terms) from your route-tracking app.
Once you have that file, you’ll need to export the coordinates into a list format to make your route usable. You can do this by diving into the XML yourself, or by finding a tool like this to convert to an Excel format. The result you’re looking for is a spreadsheet with separate columns for latitude and longitude, like this:
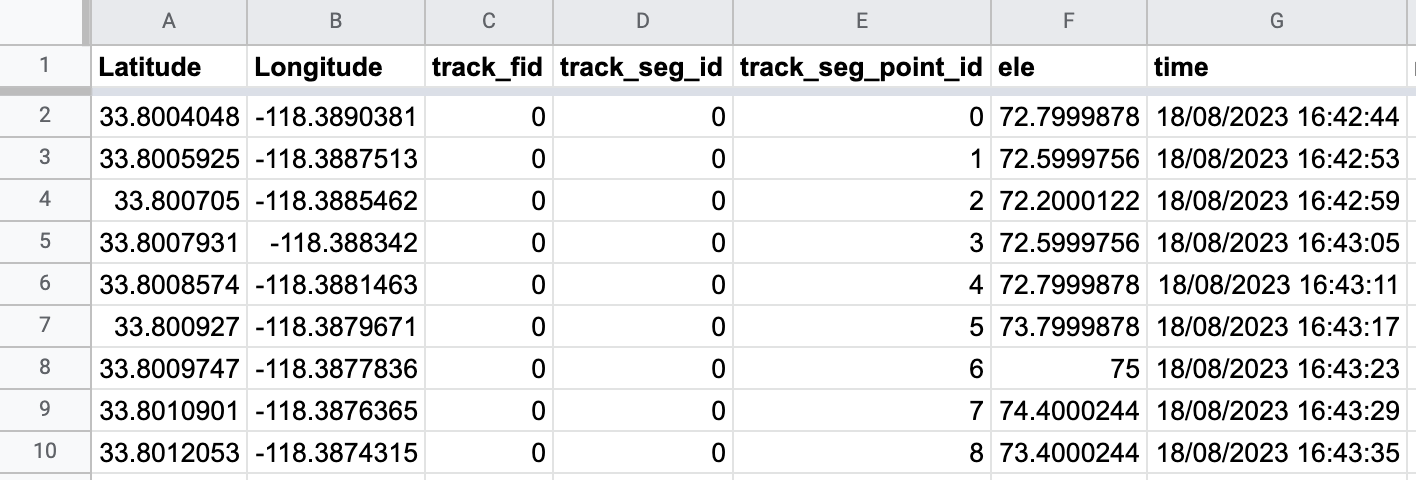
You can remove certain columns from your spreadsheet, such as the “track_fid,” “track_seg_id,” and “track_seg_point_id” in the above example. We also recommend splitting dates and times into individual columns.
Then, follow these steps to map this spreadsheet data:
- Select (Ctrl+A or Cmd+A) and copy (Ctrl+C or Cmd+C) your data (including the headers)
- Open your web browser and navigate to batchgeo.com
- Click on the location data box with the example data in it, then paste (Ctrl+V or Cmd+V) your own data
- Check to make sure you have the proper location data columns available by clicking “Validate and Set Options”
- Select the proper location column from each drop-down
- Click “Make Map” and watch as the geocoder performs its process
Now you can see your route with a marker for every latitude/longitude pair in your GPX data:
Interactive Maps Made Easy
Sign Up NowView Your Running Route Trackpoints in a full screen map
However, if you’d prefer fewer markers on your map, the second method of mapping your running route may be for you.
#2 Only Map Your Waypoints or POIs
Depending on how many miles you run, a marker for every track point might be overwhelming on your map. So how can you narrow down your route? You can refer to waypoints or points of interest (POI), a feature of some GPS units or mobile location self-tracking apps that are shown separately from routes and tracks. These can be landmarks, fields, or even businesses you pass on your run.
If your app allows you to add and track these as you run, you can export or download this data and put it into spreadsheet form.
Then, you can follow the same steps noted above to copy and paste your spreadsheet data into batchgeo.com.
This way, you can plot your run by using the milestones you note along the way.
Label Your Route with Letters or Numbers
View Your Running Route Trackpoints, Labeled in a full screen map
Regardless of whether you prefer to highlight your track points or just points of interest, you can make your route map even easier to follow by giving each marker an alphabetical or numerical label.
Labels are best suited for maps with fewer locations (26 for alphabetical labels and 99 for numerical labels), which makes them perfect for your route—unless you’re running multi-day marathons.
By default, there are no labels for your markers, so we’ll need to indicate we want them. To do so in BatchGeo:
- Right-click your map and select Edit Map
- Scroll down to Set Options, then Show Advanced Options
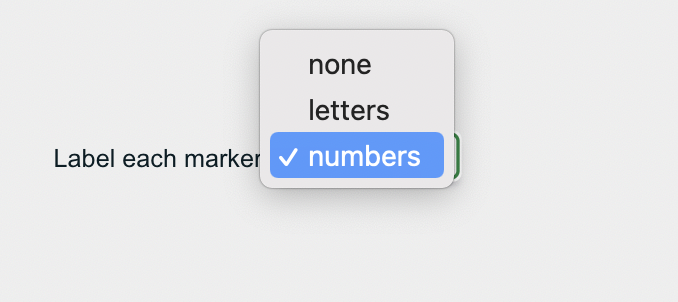
- Locate the “Label each marker” dropdown and select letters or numbers for your labels
Now you’re ready to share your easy-to-follow running route map with your friends and family. You can always copy and send the URL of your map—or even embed it seamlessly in your website or blog.
Happy running (and mapping!)
