Map Locations Alongside City, County, or ZIP Borders
We use maps every day, both personally and professionally. While they can help navigate to the dentist or find nearby restaurants, they can be especially powerful when combined with your company’s data. You might map your customers, leads, and assets or even enlist a custom map to help you track your business proposals. When you give a geographic context to your spreadsheets, you can add a whole new dimension of understanding.
When you combine your locations with additional data and put them both on the map, even more is possible. For example, imagine if you could show your mapped locations—whatever they may be—alongside the boundaries and borders of a city, county, or zip code. In this post, we’ll walk you through how to do just that. By exporting your map from BatchGeo and importing it into Google Earth, you’ll be able to turn on the appropriate boundary layer(s) and see your data in a new way. Whether you wish to do so with counties to see which points are inside or outside each county or with cities or ZIP and postal codes, Google Earth has multiple border options, all of which we’ll demonstrate below.
Export Your BatchGeo Map
First things first, you’ll want to export your map from BatchGeo. Do this so that you can then import it into Google Earth to show the locations alongside your preferred boundaries—such as a city, county, or postal code.
But before doing so, you’ll want to have a map of your data ready. You can quickly copy-paste a list of locations from a spreadsheet to create a map.
Create A Map of Your Locations
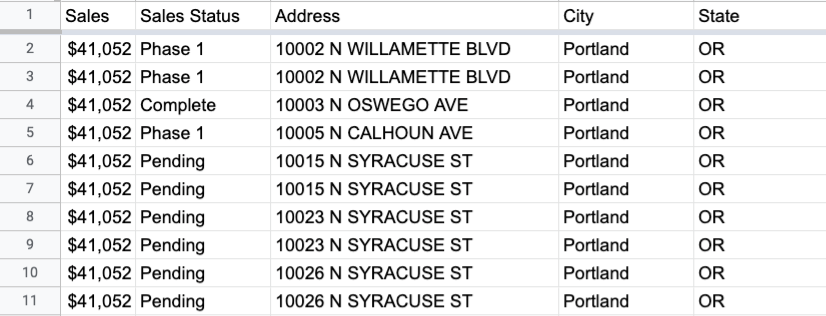
Of course, the first step in any online mapping endeavor is to properly prepare your data. You’ll want an address and other location data within your spreadsheet, which might look something like this:
Then you can follow these simple steps to create your map:
- Open your spreadsheet
- Select (Ctrl+A or Cmd+A) and copy (Ctrl+C or Cmd+C) your data
- Open your web browser and navigate to batchgeo.com
- Click on the location data box with the example data in it, then paste (Ctrl+V or Cmd+V) your own data
- Check to make sure you have the proper location data columns available by clicking “Validate and Set Options”
- Select the proper location column from each drop-down
- Click “Make Map” and watch as the geocoder performs its process
Interactive Maps Made Easy
Sign Up NowThe end result is an interactive map, like this sales example below.
View Sales in a full screen map
And for more about map-making on the web, check out our in-depth guide on the subject.
Create KML File
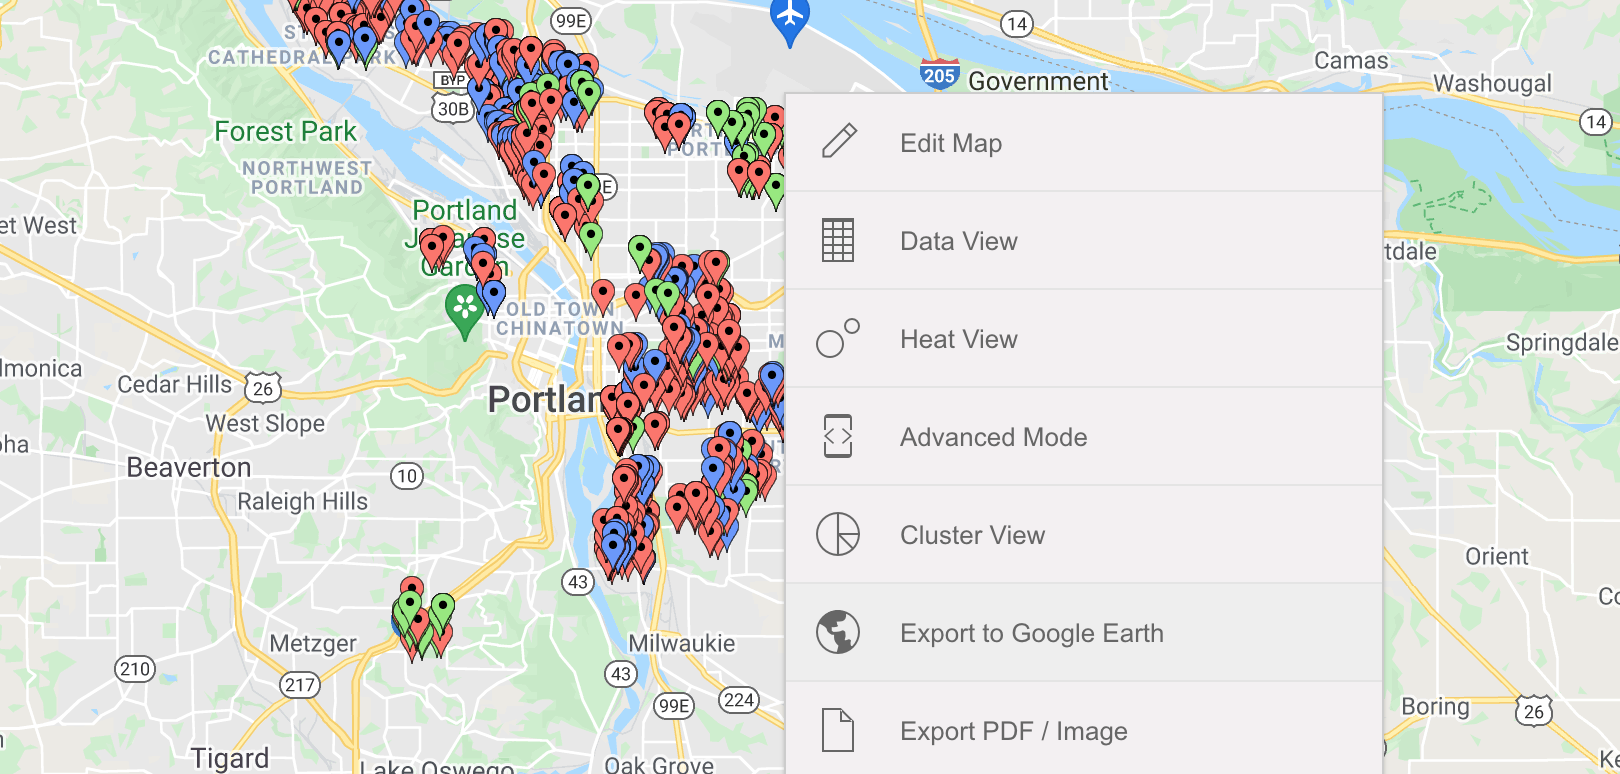
With your map primed and ready, right-click and select the Export to Google Earth option, our automatic KML creator which allows you to export KML from Google Maps, or in this case, the Google Maps API BatchGeo uses to map your data.
You can learn more about our Excel to KML feature, which converts any spreadsheet into a shareable format used by Google Earth and other geographic tools. The next step will be to bring this downloaded KML file of your BatchGeo map into Google Earth.
Import into Google Earth
Now you’re ready to show your map’s locations alongside boundaries. The process involves adding your BatchGeo map into the platform that can show cities, counties, or zip codes: Google Earth.
While Google markets a “newer” web version, it doesn’t have the same boundary options as its desktop companion. Therefore, we’ll be using the desktop app most tend to associate with the platform. If you don’t already have the free Pro software, you can download it here.
Then, to import Google Earth KMLs, follow the steps outlined below:
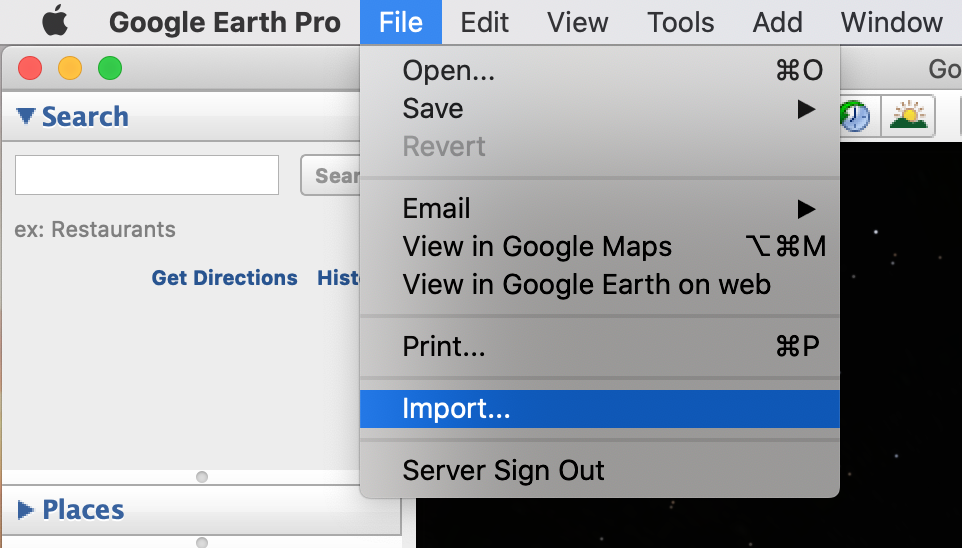
- Open Google Earth Pro on your desktop
- Click File > Import… and select the KML file we previously downloaded from BatchGeo
With your BatchGeo locations transferred into Google Earth, we can now turn on our desired city, county, or ZIP boundary settings.
Turn on Google Earth’s Boundary Layer
To view the appropriate boundaries, we’ll take advantage of Google Earth Pro’s Layers dropdown, which has countless options. Our focus will be on city, county, and ZIP borders.
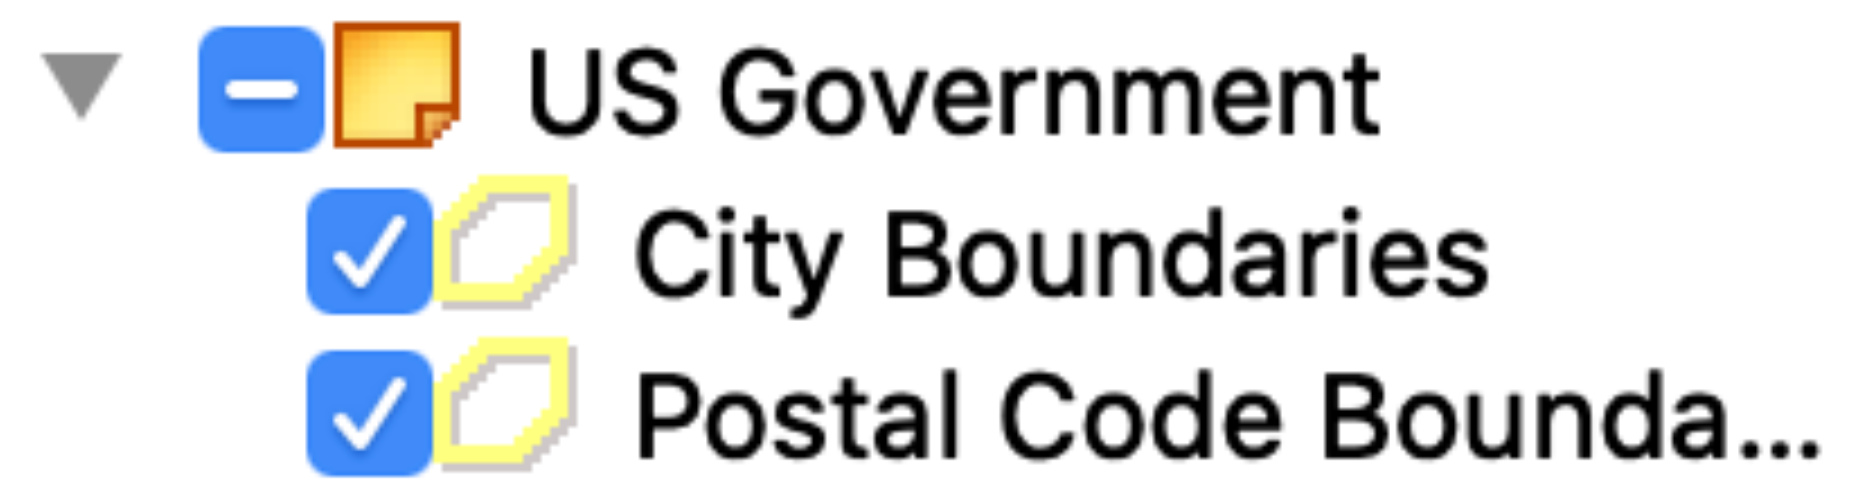
You can find both city and ZIP boundaries under US Government dropdown (under “More”).
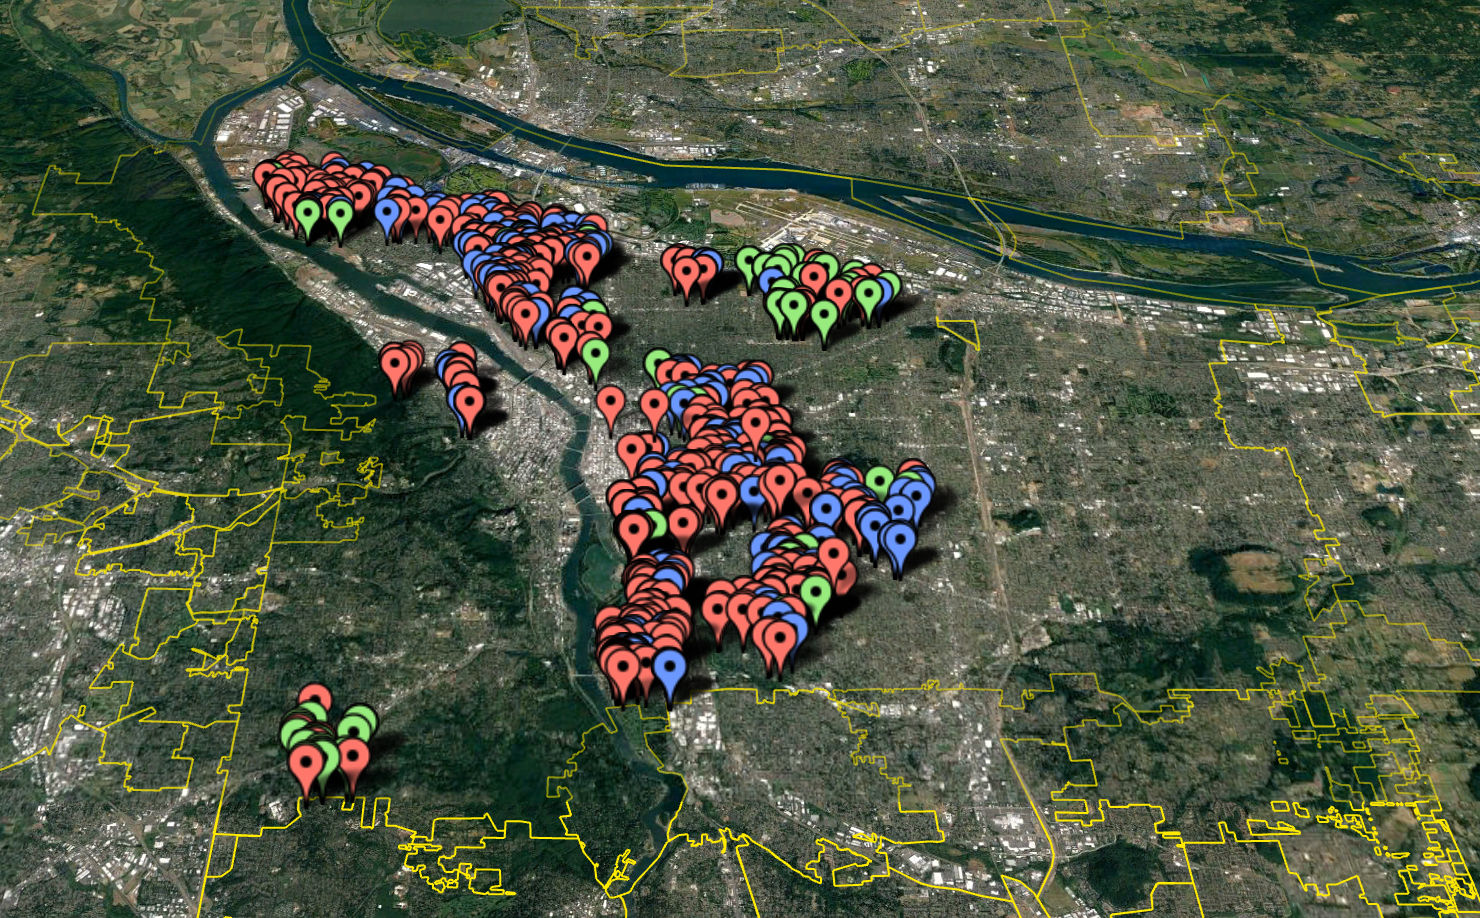

As for county lines, these can be found in 2nd Level Admin Regions (under the “Borders and Labels” > “Borders” dropdowns). Simply check that box to see one or more of these boundary options going forward.
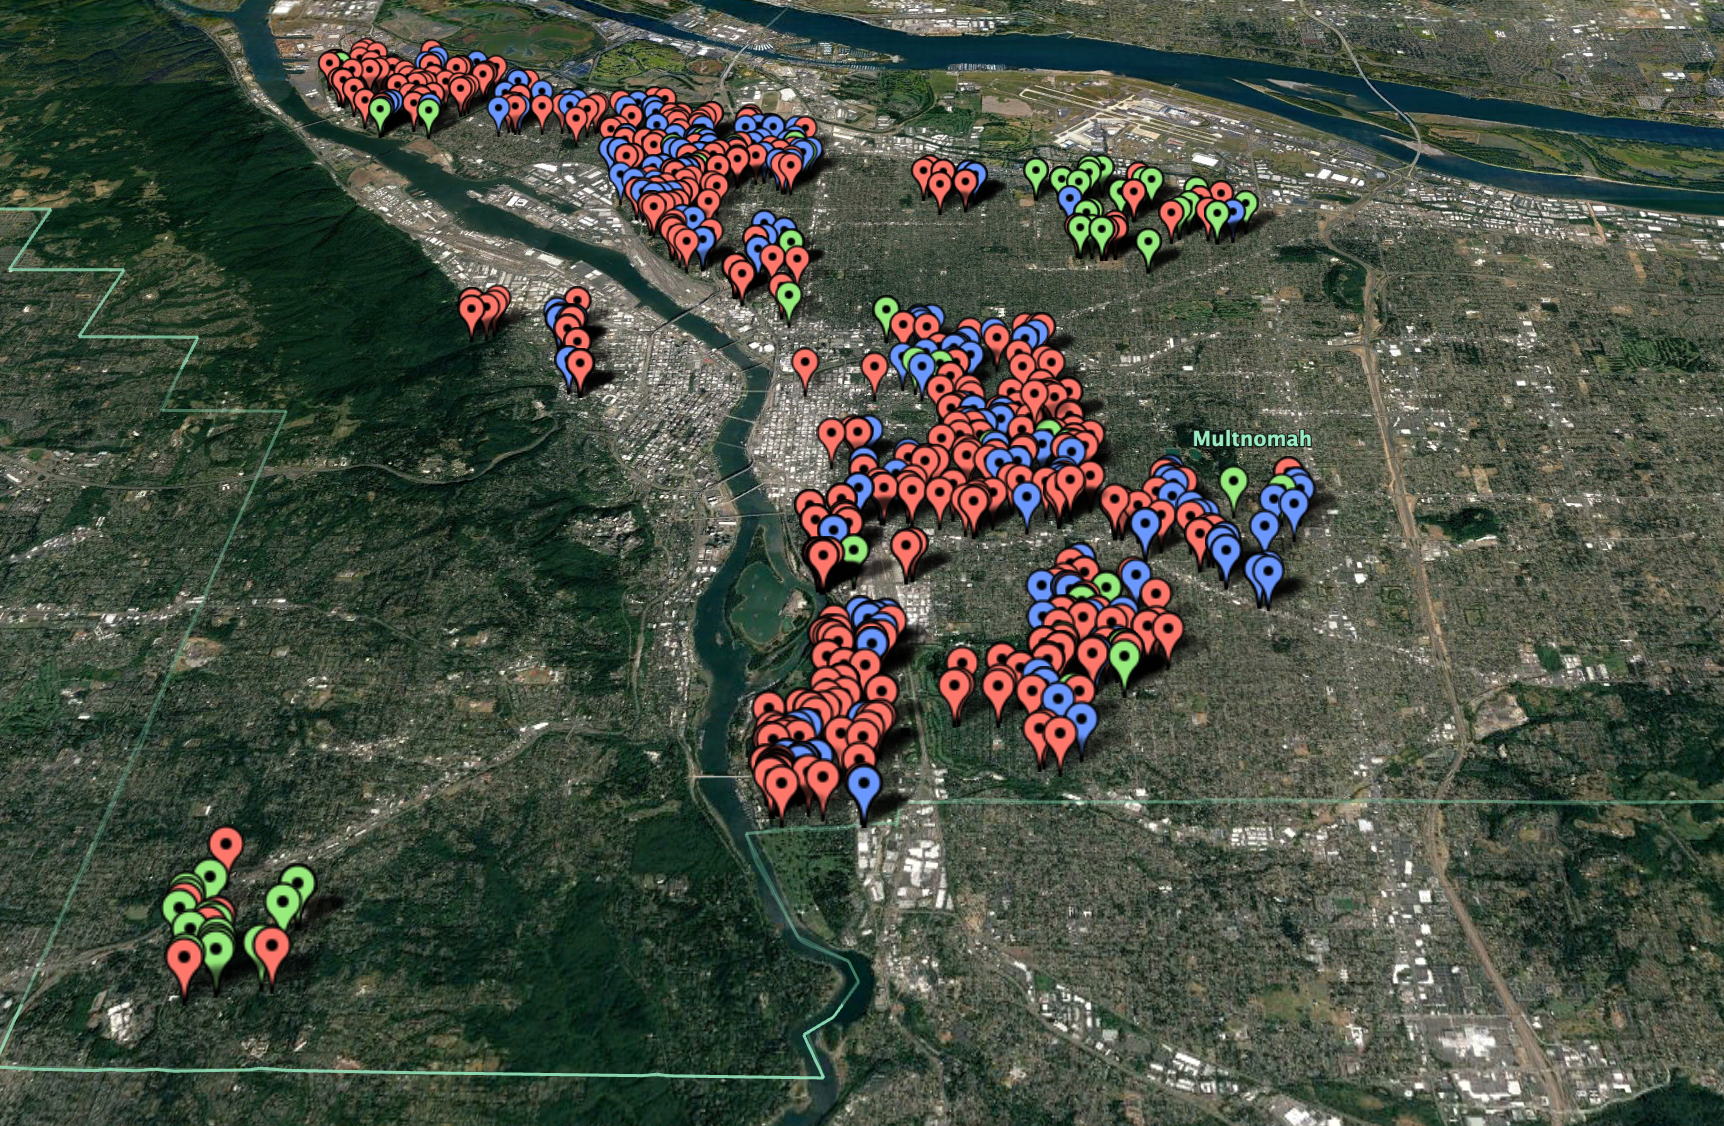
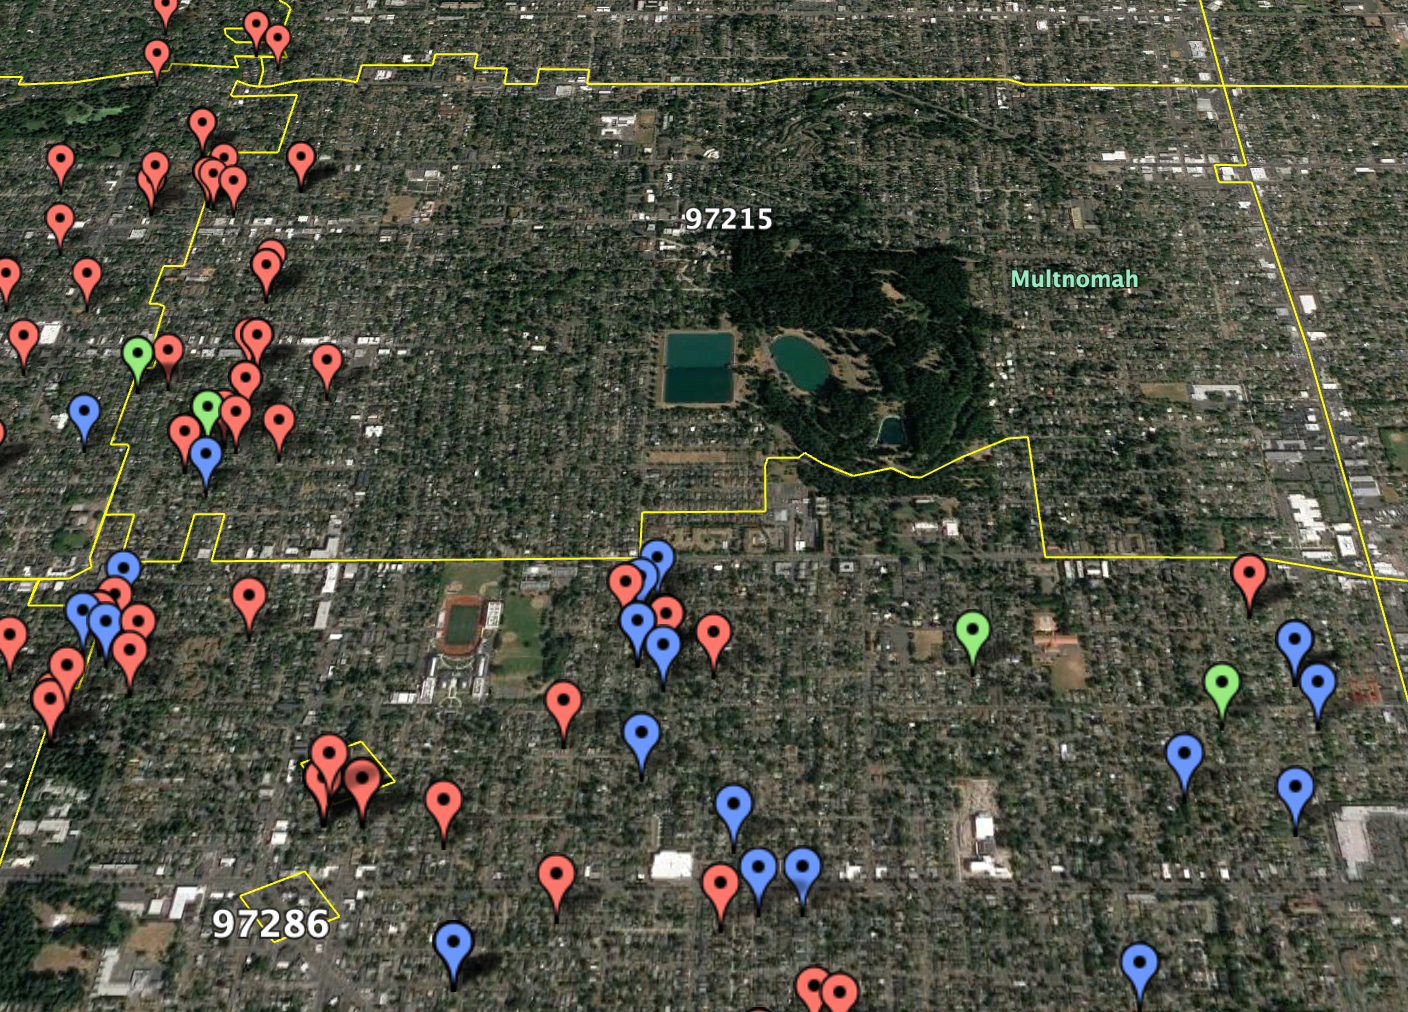
Of course, you can zoom in and out to see what side of the boundary any of your points lands on. This can be useful for sales zones or to confirm which area a customer lives in.

Pair BatchGeo‘s free mapping tool with Google Earth Pro’s Layers options for a seamless experience today.
